Wednesday 16 March 2016

STICKING TO THE JOB

Although I shall be using epoxy later, as directed by the Selway Fisher plans, I'm also given the choice of another type of glue that will make planking a bit easier task. 

   It seems that epoxy - of which I know nothing, yet - can be a bit messy and is a heck of a job to clean up. The use of Balcotan 100 is recommended for the planking, however, this has been replaced by Collano Semparo 60. A take over from another company occurred and they re-branded.


I'm told this is more economical and not so messy, which is good as I'm a 'sticky-failure'. I have used it on the hog lamination and the stem. I thought this a good place to start rather than leave it to the planking stage.

Certainly it seems easy to use - the usual health precautions are necessary - and although there is no smell at all to disturb family and neighbours, do not inhale vapours (if you Americans can ignore the 'u' in words like 'colour' and 'vapour' it may help you decipher my ramblings).

The 60 in the glue's name means you have 60 minutes before it sets ... no panic there then! I found it easy to apply, and didn't think I had spread it too thickly, but, here are two points:

   1. The glue swells on curing which is excellent for filling any gaps.

    2. A little goes a long way: when I left the glue to cure, there was little to no overspill. The odd bit I wiped off with a cloth. The next morning showed me how much it oozed out when under pressure.


This isn't a problem as it's out in the open where I can sand it off, but I really don't want it all over the planking though; neither do I want too little.

Another problem with glue overspill is sticking the piece of work to the moulds. Don't forget this stuff really sticks, the joint becomes stronger than the wood it's made from. To get over this I put masking tape over contact edges (below)


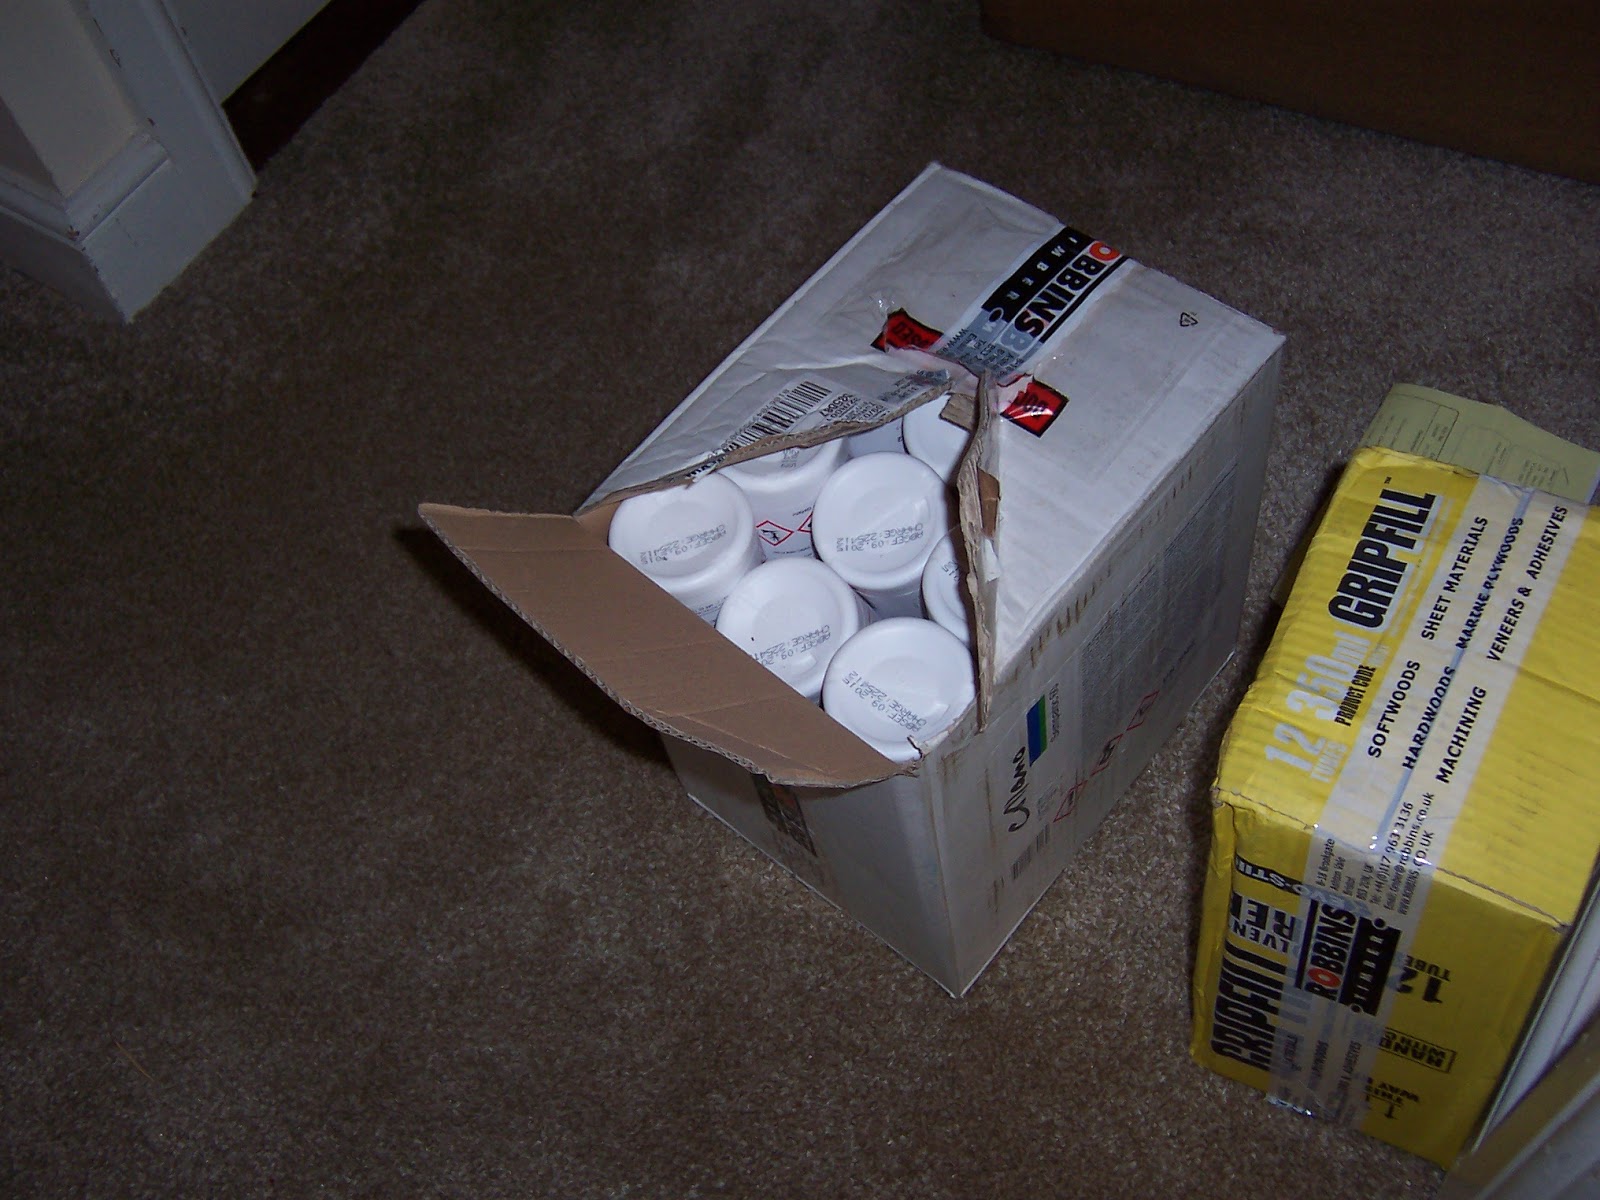
Sarah, at Robbins Timbers, said they would take back any glue I don't use, which is just as well as I've bought enough for a fleet of boats.


I continue with the unending task of beveling the edges of the moulds.


This includes bevelling the edge of the transom and stem to take the lie of the planks.


I plane out notches at intervals of six inches and will then join all the notches into one bevelled edge. I use the block plane on the stem, but I find a spokeshave works better on the particle (Sterling Board) board and plywood transom.


Sunday 13 March 2016

Floors and Tools.

Not a lot to show you. I have cut all the floors, but they will need beveling to accommodate the run of the planks when I fit them.

In the picture the floors are the darker pieces of hardwood( Iroko).


The glue has arrived from Robbins Timber I will talk about it when I use it.

I have also ordered some irons (blades) for the various planes I have made. I've been meaning to get around to ordering them for some time, like 62 years!?

I made these tools in the first year of my apprenticeship as a Shipwright at the age of 15 - 16 years. I have never used these planes - but I want to use them on Seagull.

Our instructor took us to the place where the timber was stored in racks - nicknamed The Forest. The Admiralty (Navy Dept.) believed in natural seasoning and some of the timber had stood there since Nelson's day. Here's a few photographs; all the tools shown I made... and still can't believe it!
Jack plane - 3 Hollows - a Bollow and a Smoothing plasne


A Smoothing plane - 2 Bollows - 3 Rebate Planes - Marking Gauge - Mallet


Large Square (Mahogany) - Brass Dividers - Large Dividers (Teak)

Not sure I could make them now. Interesting to note that none of the planes have warped because the Ash they were made from had stood for decades seasoning.

I should explain that the hollow planes were primarily for mast work.


Tuesday 8 March 2016

When Is A FLOOR not a FLOOR?

A floor is what you call the surface you walk on in your home, right? Beneath a wooden floor the beams, joists, or whatever you call them in your neck-of-the-woods, are those long pieces of wood upon which floor boards are fixed, right?


Not so in boat-building, here the 'joists' are called the floors. The planks on top of them upon which we will walk are called the soles.

As Seagull's floors have to fit onto the curved bottom of the inside of the boat, they have to be tailor-made to suit the exact curvature of the one location to which they will be fixed. 

If I waited until the boat was fully planked before I made the floors  then I would have a difficult time trying to work out the curves. Therefore I make and fit the floors now whilst I can still use the moulds (molds) as templates.


Just as all the floor joists need to be level to stop us having a bumpy floor in the home, so all the floors on my boat must be level so that the soles aren't bumpy when they are laid down. This isn't easy as the inside of the boat curves in all directions. There is only one straight line I can use and that is the hog: the inner keel that runs the length of the boat, as you can see below (remember the boat is built upside down). 

On the Seagull the hog is horizontal for most of its length so we can call it the Zero datum and take measurements from it.


I offer up a piece of 75mm x 35mm hardwood (Iroko) from which I have cut a notch for the hog to fit into. Below I mark the hog's position on the hardwood.


Having cut out the notch to accommodate the hog I offer it up again, and level it with a spirit-level before clamping it to the mould. 


I now pencil the curve of the mould onto the piece of hardwood. Remove the clamps and cut along the curved line on the floor with a saw.


Next the hardwood is returned to the jig. Once the hardwood is fitted it becomes a floor. 

   As all the floors are made from 75mm wide hardwood, and as they are all notched to the horizontal hog, I know each will be exactly 75mm from the zero datum and my soles will lie flat.

Finally, I will remove the floors and store them for fitting after the planking has been completed.

I also need to bevel the edges of the Moulds (molds) so that the planking will fit flush along them.

To get the bevels right, I use a plank (notice how small the cross section of the plank is) as a batten. 


 I place the batten about half way up the centre mould. With a block plane I bevel the moulds at the spot the batten touches. See small beveled notch on picture below.


Then  I drop the batten six inches and repeat the process for all the moulds. Finally I have beveled notches on all the moulds. I now plane the moulds to join the notches, resulting in fully beveled  moulds upon which the planks will lie flat.

Doing this latter operation is going to take some time.

Tuesday 1 March 2016

Saint David's Day

Today is Saint David's Day, he is the patron saint of Wales.


Wales is a country in southwest Great Britain known for its rugged coastline, mountainous national parks, distinctive language and Celtic culture. The image above is of the Welsh Dragon and the caption 'Cymru Am Byth' translates as 'Wales For Ever".

For those who don't know where Wales is, here is a map.


I live in Fishguard, on the coast that National Geographical judges to be the second most beautiful coastline in the World


Now back to the boat building.

I have been working on the stem of the boat which I began by drawing it out, full-size, on a large sheet of thin plywood. The dimensions for my drawing come from the plans I bought from Selway Fisher

From the plywood I cut out the stem, it's in three parts:


I then used the plywood as templates to mark out the pieces on a lovely piece of Douglas Fir (120mm x 50mm      4.75 inch x 2 inch)


I now had to adjust the front two moulds (molds) to accept the stem.


Another view


I then began to realise I had problems with the front three moulds: checking their position with the drawing showed me that the stem was not in the correct location. In trying to solve the problem I found myself in danger of going in circles.
   I stood back and thought about it for awhile. I knew what to do: I took a reporters notebook and gave a page to everyone of 12 moulds (molds). I then took exact measurements noting them on the appropriate page. From the plans I wrote in what the measurements should have been and noted the differences, if any.
   Now I knew exactly what to do to put things right. I then took apart the stem, hog, and took down the three mould to rectify each. I will finish them and reassemble tomorrow.
    I wasn't annoyed with errors or the rework: better to find the errors now than when I was planking. So the moral of the story is, I guess, keep rechecking as you go. I had checked well before hand but lots of small errors at one point can cause major errors when other small errors are added to them.
   To the outsider I would point out that there are very few straight edges on a boat to measure from. You can't measure from the floor as it is uneven.     As you get involved in the build you get really tuned in to it - I find the same in painting and writing where the brush and pen take over and you just hold on to them.